Spider Mini Excavator Safety Practices for Slope Work
Learn essential safety practices for operating spider mini excavators on slopes, including ground assessment, machine positioning, controlled travel, safe digging and lifting, and emergency planning to reduce the risk of sliding or tipping.
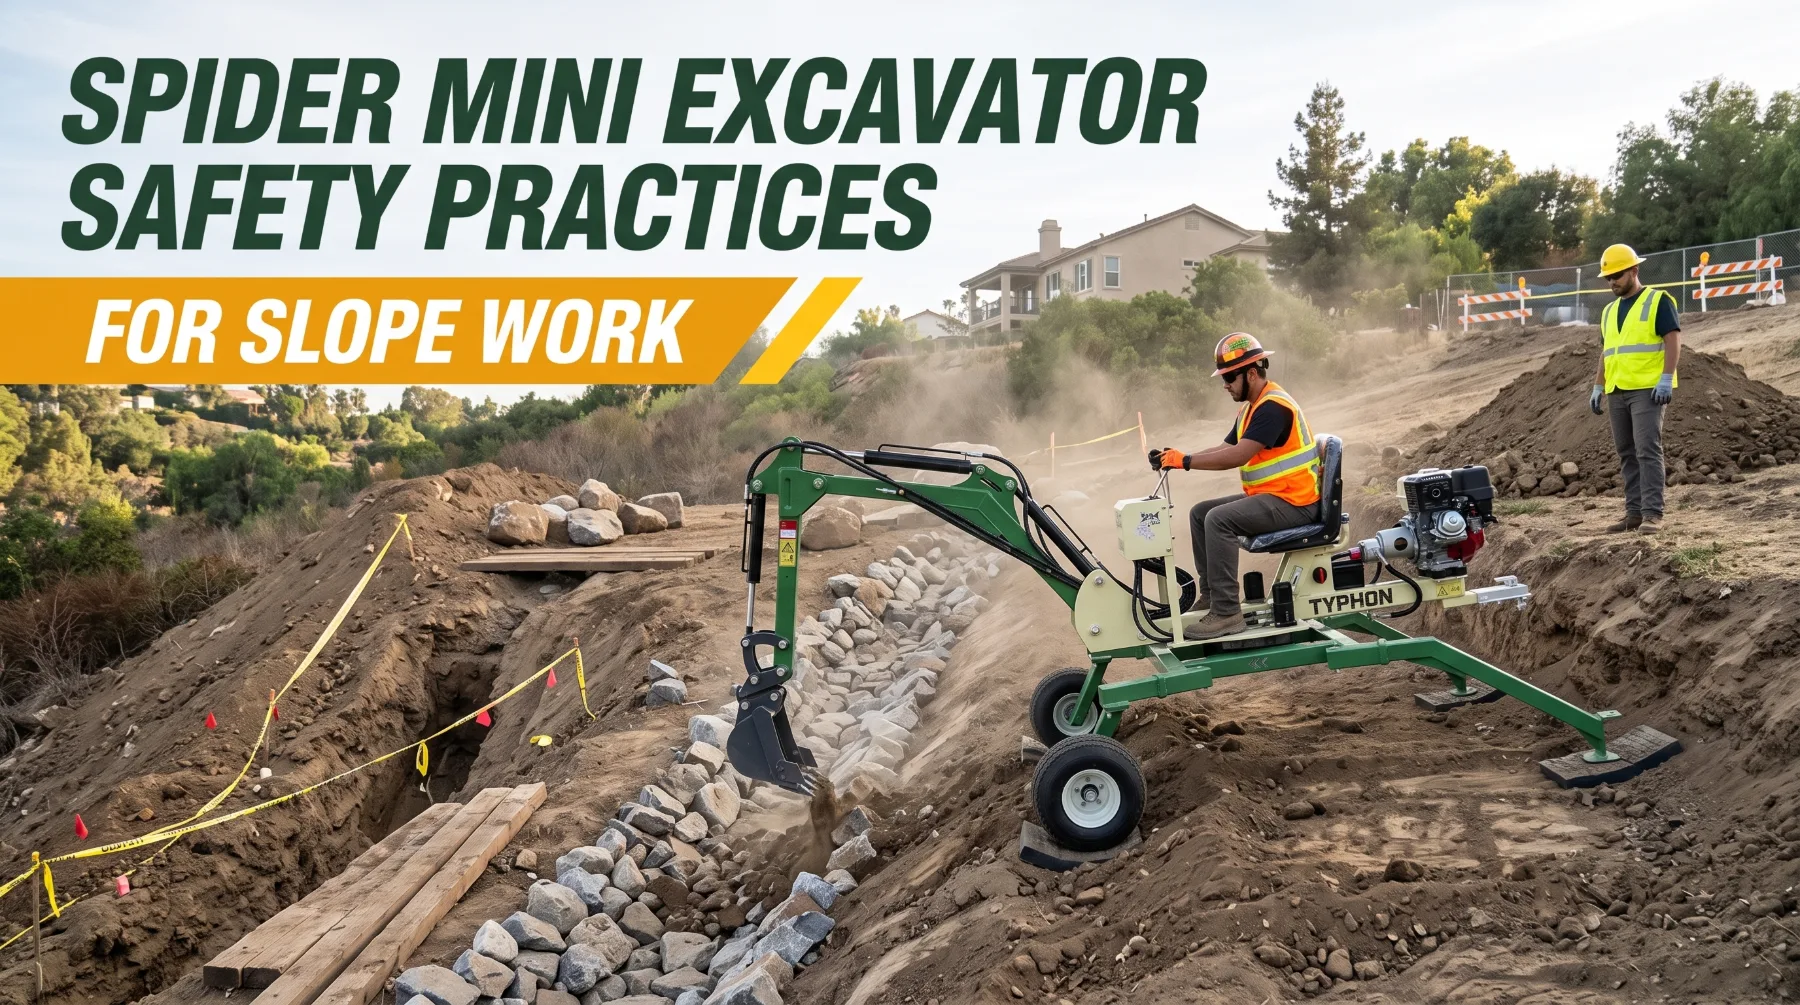
Steep terrain presents additional challenges for spider mini excavator operators, particularly when rainfall changes soil strength and surface traction. Wet clay, loose material, cracked banks, and uneven support can increase the risk of sliding or ground failure during travel, digging, and lifting. Assessing the slope before work begins helps crews identify hazards and plan a safer operating route.
Maintaining stability requires suitable positioning, reliable support, and controlled machine movement. Traveling across an incline may increase sideways sliding risk, while softened soil near an eroded edge may not adequately support the machine's weight. Operators should follow the manufacturer's slope limits, select appropriate travel paths, use suitable ground protection where necessary, and reassess conditions after rain or other changes.
At the start of each shift, operators should inspect the work area, identify unstable edges, and establish exclusion zones that keep workers away from potential slide paths. Smooth control inputs, careful load handling, and clear communication help maintain control on challenging terrain. Ongoing ground assessments and emergency planning further support safe operation as site conditions change.
Weather and Changing Ground Conditions
A slope that is safe in the morning may not be safe by afternoon. Weather and the work itself constantly change the ground beneath a spider excavator. Rain, loose gravel, mud, and disturbed soil can reduce traction and weaken the support the machine depends on, so conditions must be watched throughout the job, not just at the start.
Rain has the greatest effect. Water softens clay and topsoil, turns exposed surfaces slick, and adds weight to the soil above excavations. Saturated ground loses strength, and a support that held firmly on dry soil can sink once the ground is wet. Runoff can also wash out soil beneath foot pads or erode the edge of a cut. Even light overnight rain can change conditions significantly, especially on clay slopes. Loose gravel and crushed stone create their own hazard, since they can roll under tracks and foot pads and reduce grip on an incline.
The work itself changes the ground too. Excavation removes support from nearby soil. Repeated travel can rut a route and loosen the surface, and spoil piles add weight near edges. Freshly disturbed soil rarely has the strength of undisturbed ground, so areas that were firm before work began may need fresh assessment once digging is underway.
Reassess the work area regularly. Walk the slope and probe setup points at the start of every shift, after any rain, and whenever the ground looks or feels different. Watch for new cracks at the top of cuts, sloughing walls, water seeping from the slope, softened travel routes, and supports that have pressed deeper. Check weather forecasts before and during the job, and plan the most demanding work for the driest conditions. Lay fresh mats or pads where the ground has softened.
Know when to stop. If the surface becomes unstable, traction is lost, or the machine can no longer be operated safely within its limits, stop the work. Lower the bucket to the ground, move the machine to stable ground if it's safe to do so, and wait for conditions to improve. A short delay protects the operator, the crew, and the project far better than pushing through deteriorating ground.
Key takeaway: Rain, loose gravel, mud, and disturbed soil reduce traction and ground support, so reassess the work area regularly and stop whenever the surface becomes unstable or the machine can't be operated safely.
Machine Positioning and Support
Spider excavators use adjustable legs, foot pads, and tracks or wheels to maintain stability on uneven terrain. Correct positioning and ground assessment help reduce the risk of sinking, shifting, or tipping during operation.
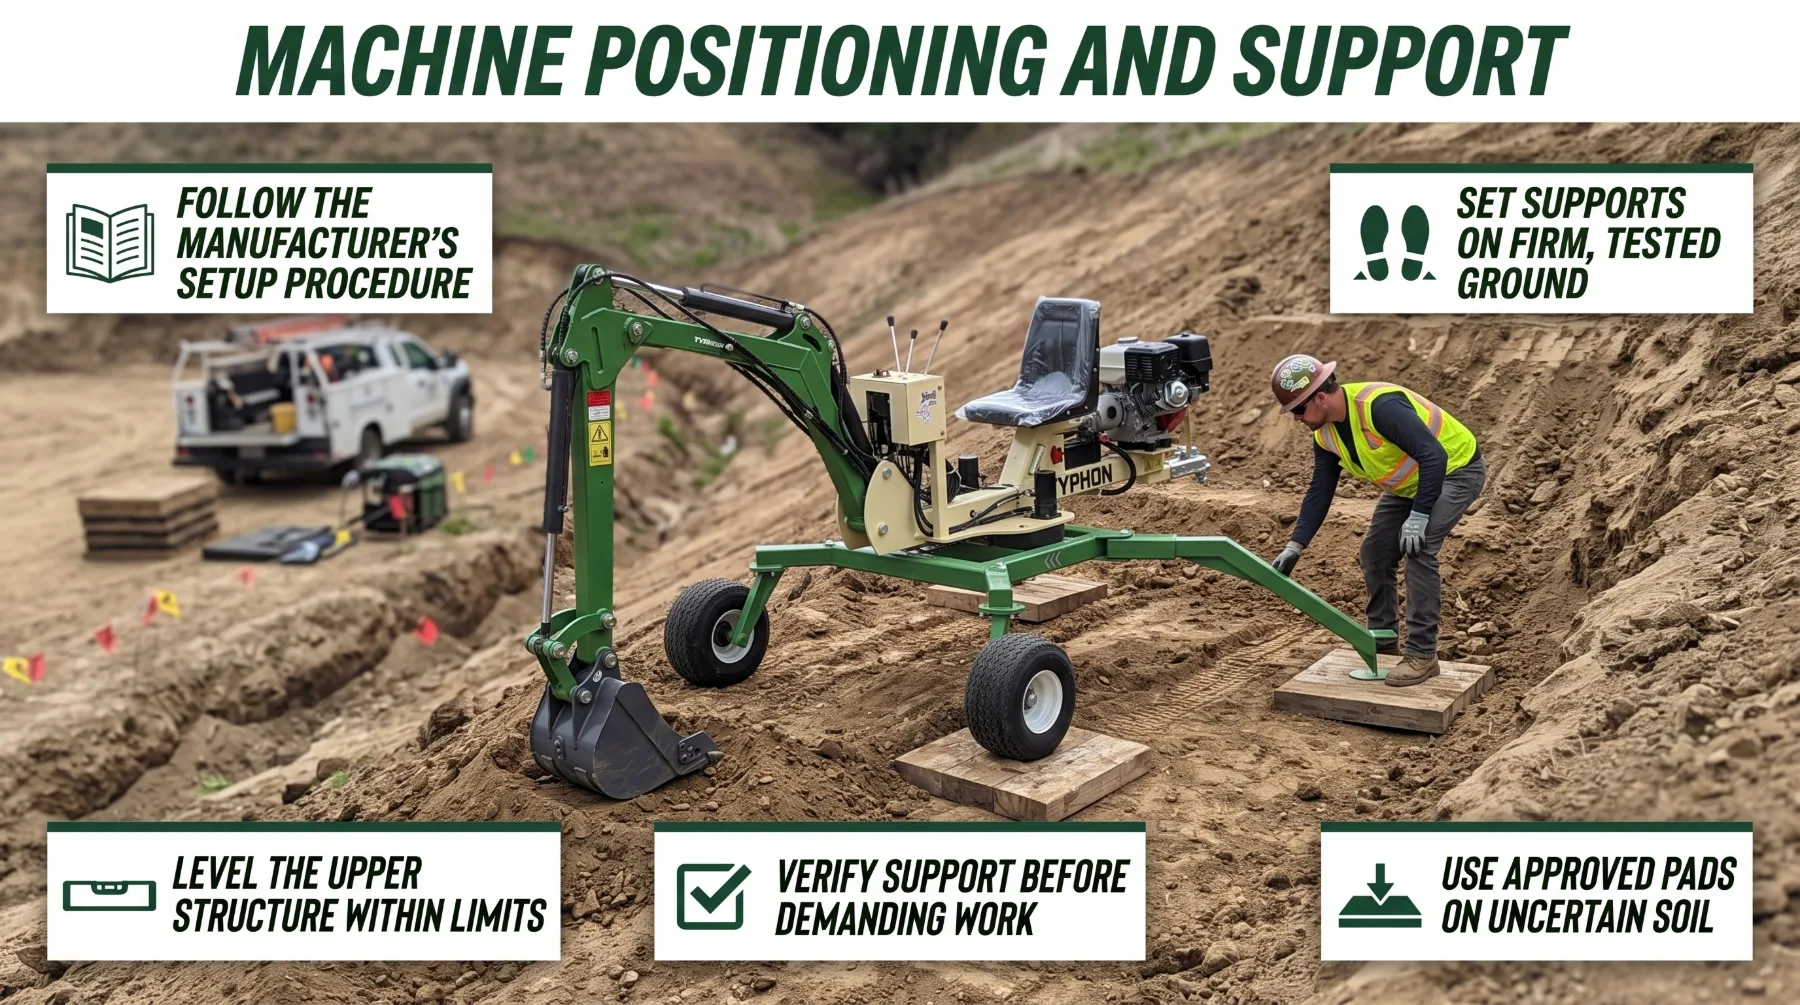
• Follow Manufacturer Guidelines: Follow the operator's manual for leg extension, machine leveling, and positioning on slopes.
• Firm Ground and Support Placement: Place each support on stable ground, away from loose soil, excavation edges, and weak areas. Spread the supports as widely as permitted.
• Machine Leveling: Keep the upper structure level or within the manufacturer's specified operating limits before digging.
• Load-Spreading Pads: Use approved pads or mats on soft ground to distribute the machine's weight and reduce sinking.
• Support Checks and Inspection: Monitor supports during operation and recheck after rain or ground movement. Inspect legs, cylinders, and foot pads for damage or leaks before each shift.
Key takeaway: Position the excavator according to the manufacturer's guidance, use the support legs and stability components as instructed, and verify the ground can bear the machine's weight and working forces without shifting or collapsing.
Controlled Travel on Inclines
Travel is one of the most sensitive moments in slope work. When a spider excavator moves, it can't rely on a fully set stance, and the ground beneath it changes with every few feet. Travel direction and speed have a direct effect on stability, so every move on an incline should be planned and deliberate.
Follow the manufacturer's guidance for uphill, downhill, and cross-slope movement. Many machines have specific requirements for which direction the machine should face, how the boom and arm should be positioned, and whether cross-slope travel is permitted at all. Where the manufacturer allows it, traveling straight up and down a slope is generally more stable than traveling across it, since crossing a slope shifts weight toward the downhill side. Keep the boom and bucket in the travel position specified in the operating instructions, which usually means low and close to the machine.
Speed control matters as much as direction. Use a slow, steady pace, especially when traveling downhill, where a loaded or heavy machine can gain momentum quickly. Avoid sudden steering and abrupt changes in speed. A sharp turn or a hard stop on an incline shifts weight suddenly and can cause a track to lose grip or a support to lift. Make turns on level or near-level ground whenever possible, and slow down well before rough sections instead of braking on them.
Plan the travel route in advance. Choose the firmest path between work areas, stay away from excavation edges and gully banks, and avoid crossing freshly disturbed soil. Lay timber mats over soft sections the machine must cross. Never travel on inclines that exceed the machine's permitted operating limits, even for a short distance. If the only route to the next work area is too steep or unstable, change the plan rather than taking the risk.
Watch for warning signs during travel. A track that slips, a machine that begins to slide, or a tilt that feels greater than expected all mean you should stop. Lower the bucket to the ground to add support, let the machine settle, and reassess before moving again.
Key takeaway: Follow the manufacturer's guidance for uphill, downhill, and cross-slope travel, move at a slow and steady pace, and never travel on inclines that exceed the machine's permitted limits.
Digging and Lifting on Slopes
Digging and lifting add new forces to a machine that is already working against the pull of the slope. Digging resistance pushes back through the bucket, arm, and boom into the supports. A raised or extended bucket shifts the machine's center of gravity upward and outward. On level ground, these forces are manageable. On an incline, they combine with the slope's effect and can quickly reduce the machine's stability margin.
Keep every load within the manufacturer's rated limits. Review the working range and lift capacity information for your machine, which shows how safe loads change with reach, height, and configuration. Remember that slope conditions can reduce the margin that exists on level ground. Material weight is easy to underestimate. Wet clay, saturated soil, and rock weigh far more than dry topsoil, so estimate loads by weight rather than by how full the bucket looks. Lift only when the machine is positioned and supported appropriately for the conditions.
Use smooth, controlled boom and arm movements throughout the cycle. Take shallow, deliberate cuts in hard ground instead of forcing the bucket deep. If the bucket stalls against a rock or root, stop and change the approach rather than pushing harder. Holding a function against hydraulic resistance sends force back through the supports and can lift a leg on the uphill or downhill side. Swing slowly with a loaded bucket, and avoid swinging heavy loads toward the downhill side, where the slope adds to the tipping force. Plan spoil placement on stable, level ground, ideally uphill or to the side of the machine, and well away from excavation edges.
Avoid unnecessary reaching and lifting. A loaded bucket held at full reach places far more leverage on the machine than the same load held close. When the required working range can't be reached safely from the current position, reposition the machine instead of stretching for it. Moving to a better setup takes a few minutes. Recovering from a lifted support or a slide takes far longer, and it puts people at risk.
Keep the excavation itself under control as well. Don't undercut the ground beneath the supports, and keep the machine well back from the edge of any cut. Follow applicable trench protection requirements as the excavation deepens, and never allow anyone into an excavation without proper protection.
Key takeaway: Keep loads within rated limits, use controlled boom and arm movements, avoid unnecessary reaching or lifting, and reposition the machine whenever the required working range can't be reached safely.
Assessing the Slope Before Work
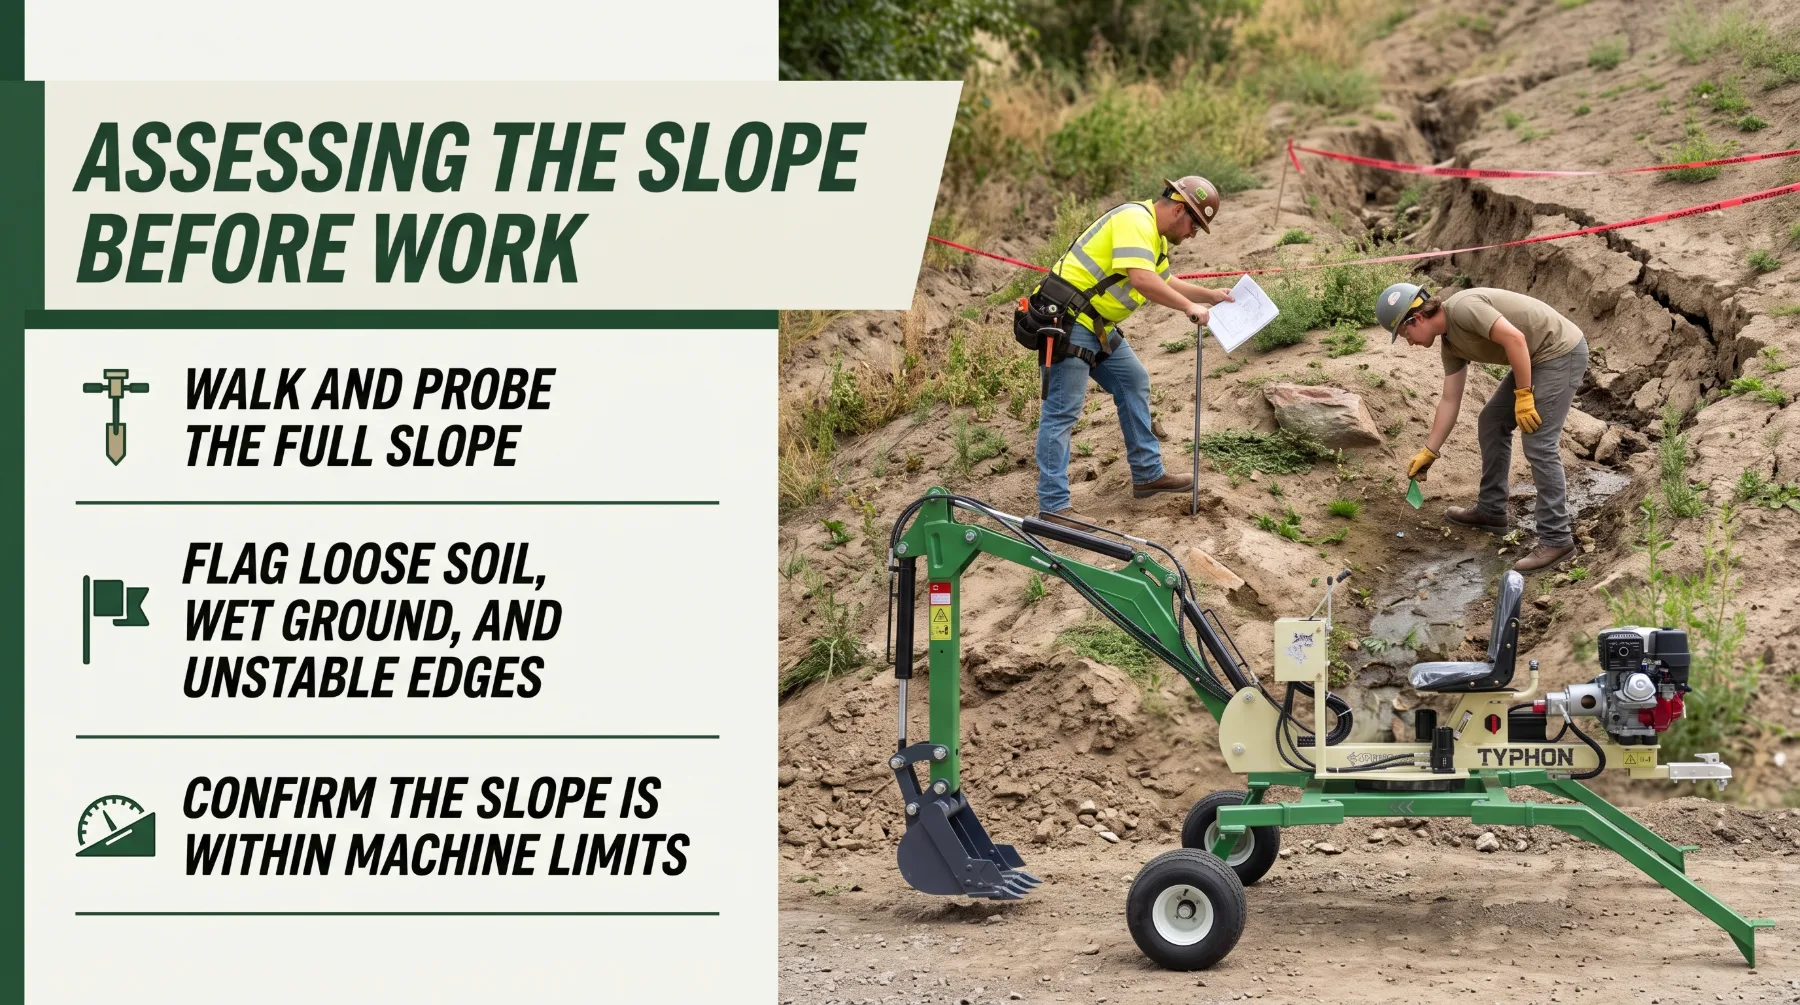
Every safe day on a slope begins before the machine moves. A careful walk of the work area shows you where the machine can stand, where it can travel, and where it must never go. That knowledge prevents the slides, settling supports, and close calls that can stop a job.
Walk the full slope, including the travel route, every planned setup point, and the areas above and below the work. Look closely for loose soil, erosion channels, and fresh fill that may compress under load. Wet ground, seeps, and soft spots often show up as darker soil, standing water, or moisture-loving plants. Watch for hidden obstacles such as buried rocks, stumps, old drain lines, and voids beneath roots. Pay particular attention to unstable edges, including gully banks, terrace drops, retaining walls, and the crest of any cut. Cracks running parallel to an edge are a clear warning that the ground may be ready to give way.
Probe questionable areas with a soil probe or steel bar to check firmness. Ground that looks solid on the surface can be soft just a few inches down, especially after rain. Look uphill as well. Loose rock, unstable trees, and saturated soil above the work area can move down toward the machine.
Consider the steepness of the slope and the space available for work. Estimate the slope angle and compare it with the limits in the machine's operating instructions for travel and for work. Those limits often differ, and they may change with the machine's configuration and the direction of travel. Make sure there is enough room to set the supports properly, place spoil safely, and reposition when needed. If the terrain falls outside the machine's limits or the task can't be done safely from the available ground, choose another method rather than pushing the machine past what it was designed to do.
Locate utilities before any digging. Contact your local utility locating service, wait for lines to be marked, and ask the property owner about private lines such as irrigation and lighting. Turn what you find into a plan. Flag firm setup points, mark hazards and no-go zones, and identify where you'll need mats or load-spreading pads.
Key takeaway: Inspect the slope for loose soil, erosion, wet ground, hidden obstacles, and unstable edges, and check the operating instructions to confirm the terrain suits the task before the machine moves.
Operator Awareness and Emergency Planning
On a slope, conditions can change quickly, and the operator is often the first person in a position to notice. Steady awareness of the machine, the ground, and the people nearby allows fast, correct decisions. A clear emergency plan makes sure everyone knows what to do if something goes wrong.
Maintain awareness of four things throughout the work. Watch the machine's position, including how each support sits and what the inclination indicator shows. Watch slope edges, gully banks, and excavation walls for cracks, settling, or sloughing soil. Watch for nearby workers, especially anyone moving above or below the machine. And keep track of potential escape routes for crew members on foot, so they always have a clear path away from the machine's travel and working area.
Keep people clear of hazardous areas. The zone downhill of a machine working on a slope is especially dangerous, since a sliding machine, rolling rock, or falling spoil will move in that direction. Mark exclusion zones with barriers or caution tape, keep workers outside the swing radius, and never allow anyone to stand downhill of the machine while it travels, digs, or lifts. Use a trained spotter where visibility is limited, and agree on hand signals or radio communication before work begins. Stop all movement immediately if anyone enters the work area unexpectedly.
Prepare the machine and the operator before each shift. Fasten the seat belt every time you operate, since the protective cab structure can only help an operator who stays inside it. Confirm that inclination indicators, tilt warnings, alarms, lights, and emergency controls work as designed, and know where every emergency control is located. Inspect support components, hydraulic hoses, and attachment connections for damage that could affect stability or control.
Understand the manufacturer's procedures for emergencies before you need them. Know how to respond to loss of traction, unexpected movement, or a support that begins to settle. In many cases, the response includes stopping travel, lowering the bucket to the ground to add support, and keeping the controls steady while the machine settles. Follow the specific procedure in your operator's manual. Make sure the crew knows how to signal the operator to stop, how to call for help, and where to gather if the work area must be cleared. Review these steps at the start of the job, and again whenever the crew or conditions change.
Key takeaway: Stay aware of the machine's position, slope edges, nearby workers, and escape routes, keep people out of hazardous areas, and understand the manufacturer's procedures for responding to loss of traction or unexpected movement.
Conclusion
Safe spider mini excavator operation on slopes depends on a disciplined approach that starts before the machine moves and continues until the last cut is finished: a thorough terrain assessment identifies loose soil, wet ground, hidden obstacles, and unstable edges, while correct positioning on firm, tested ground and proper use of the support legs give the machine a stable, level stance. Slow, deliberate travel in the directions the manufacturer permits prevents slides and sudden shifts in balance, and careful digging and lifting within rated limits keeps reaction forces and raised loads from overwhelming the machine on an incline. Regular reassessment protects the crew as rain, mud, and disturbed soil change the ground throughout the job, and steady operator awareness, clear exclusion zones, and a well-understood emergency plan ensure everyone knows how to respond when conditions shift. When you follow the manufacturer's slope limits and stop the moment conditions become unsafe, you protect your operator, your crew, and your project, so before your next slope job, walk and probe the full work area, plan your travel route and setup points, and brief the crew on exclusion zones and emergency procedures before the first move.
Frequently Asked Questions
Can a spider mini excavator operate on every slope?
No. Safe operation depends on the machine's design, permitted operating limits, ground conditions, and the manufacturer's instructions. If the terrain exceeds those limits, choose another method.
Why is ground assessment important before slope work?
Loose, wet, or unstable ground can reduce traction and support, increasing the risk of movement or loss of stability. Walking and probing the slope reveals hazards before the machine is committed to them.
Should operators lift heavy loads while working on a slope?
Loads must remain within the manufacturer's rated limits. Lifting should only occur when the machine is positioned and supported appropriately for the conditions, with loads kept close to the machine.
When should slope work stop?
Stop if ground conditions become unstable, traction is lost, the machine moves unexpectedly, or the task exceeds the machine's permitted operating limits. Lower the bucket and reassess before continuing.